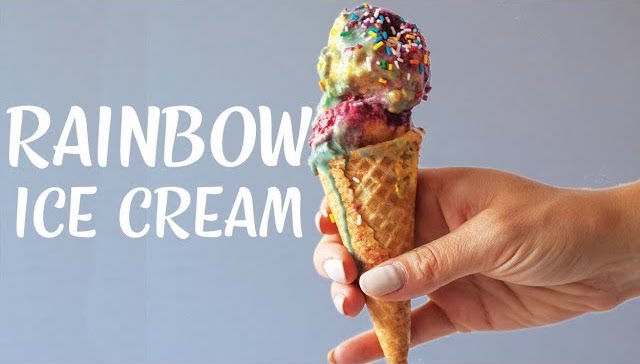
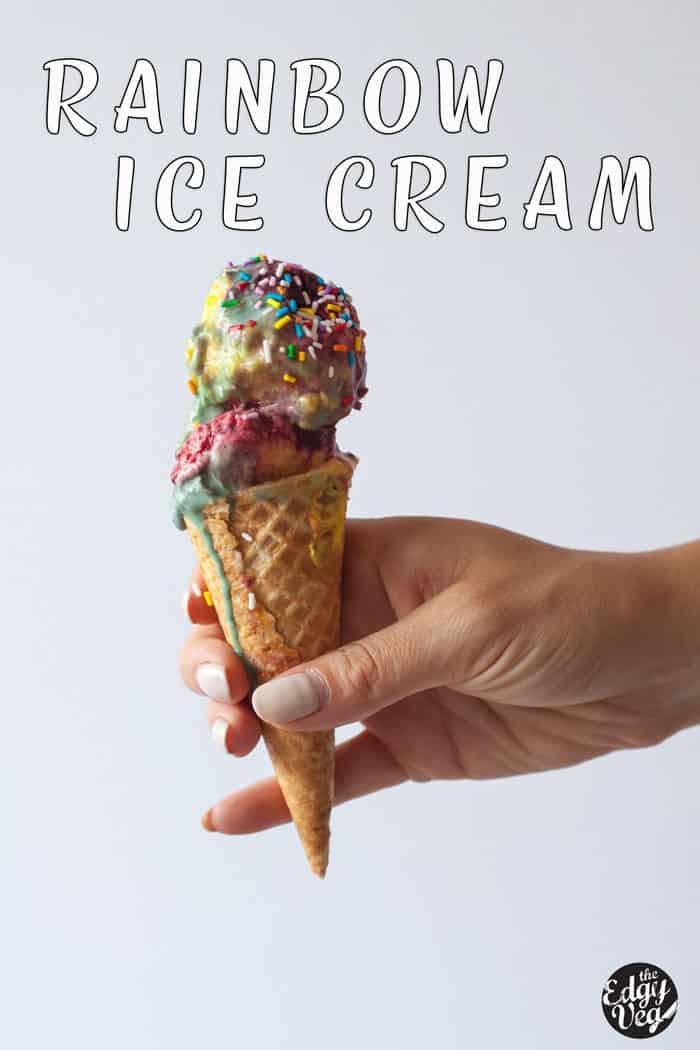
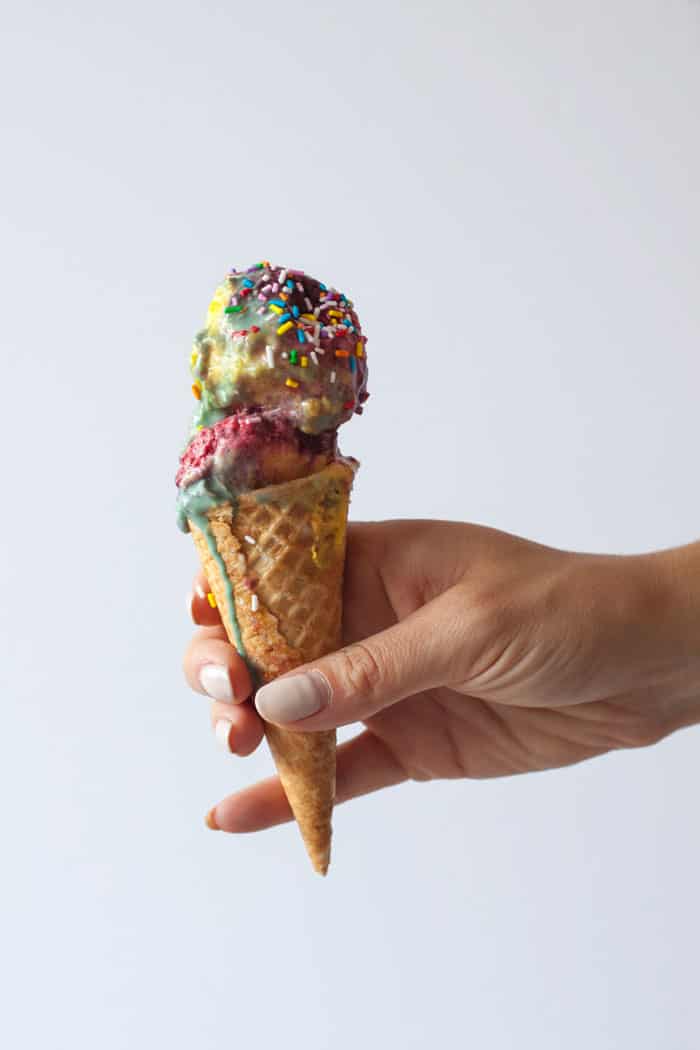
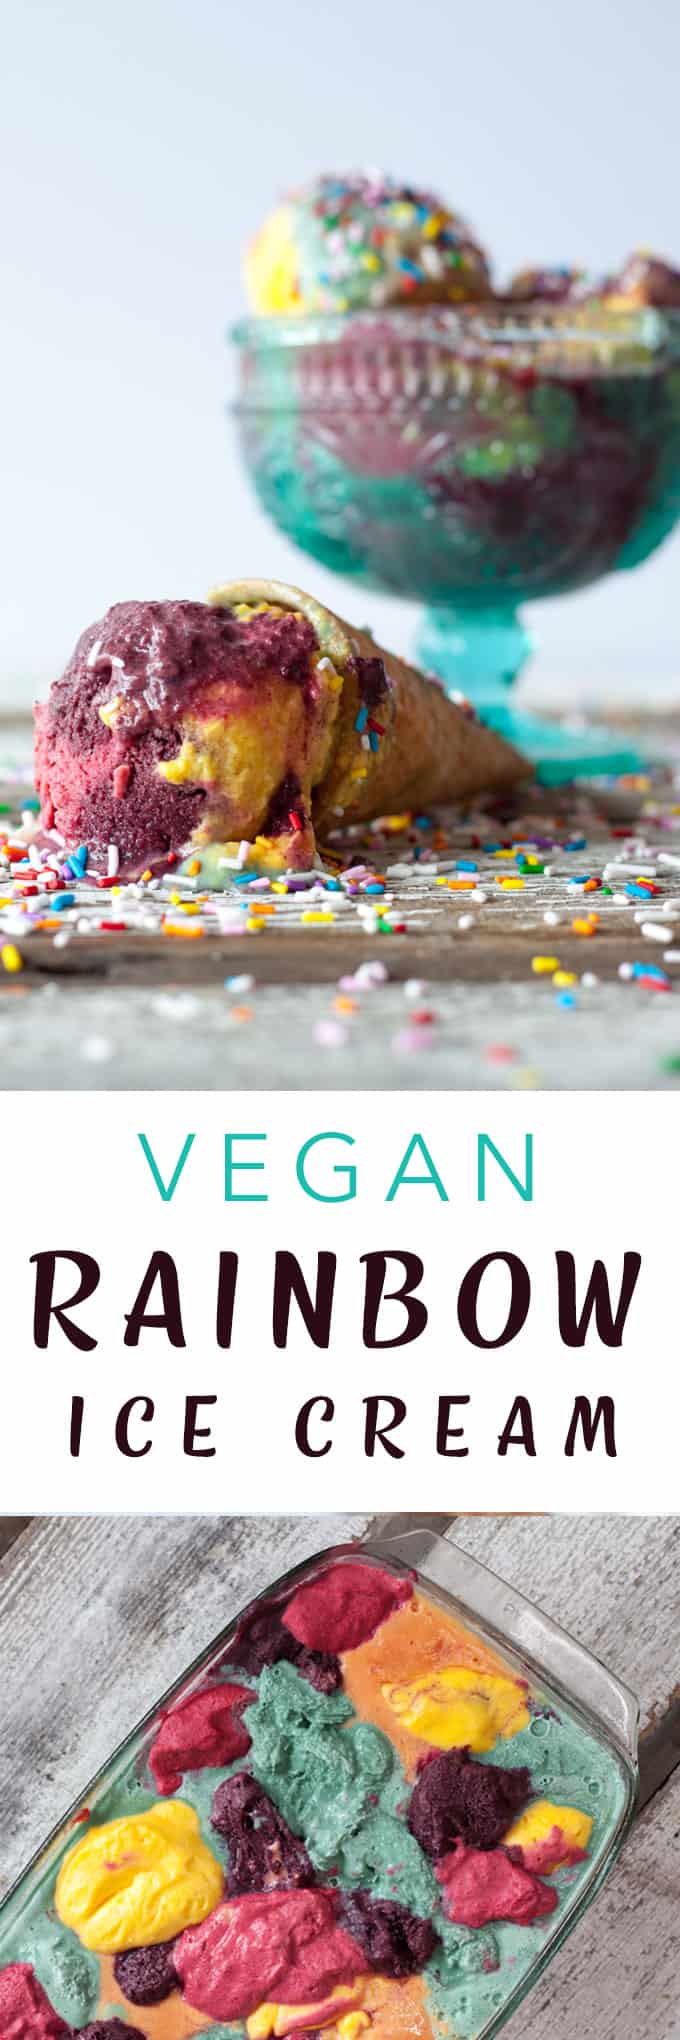
I’ll admit it, I was totally inspired by all the colourful, unicorn-inspired food that’s been so popular this summer. Mind you, I do think there is a line and some (read many) have crossed it. While this trend has been used WAY too much, and on some foods that have no business being rainbow, I think ice cream is the perfect food to flaunt this tie die-inspired, unicorn look.
I’m really not into food colouring, and try to avoid as much as I can (leaving room for vegan gummy candies of course), so I coloured each cream with natural ingredients and was able to avoid the dreaded stuff all together! For the base of this dairy-free ice cream, I used canned coconut milk and sugar. Then I dyed the cream various colours with fruits and supplements to get the colour I wanted to achieve.
To make pink ice cream I used raspberries. To make a pale green coloured ice cream I used caps of spirulina– you could also use liquid chlorophyll if you’ve got that laying around. For yellow ice cream, mango was a simple choice that worked out perfectly. To make orange ice cream, I thought orange juice concentrate would be a no-brainer, but it just ended up looking yellow- so I threw some raspberries in there to deepen the colour. My elementary school art classes are really paying off today. And finally, to make purple ice cream I used blueberries. You can use fresh or frozen for any part of this recipe, but I find that frozen fruit that’s been slightly thawed makes the most vibrant colours.
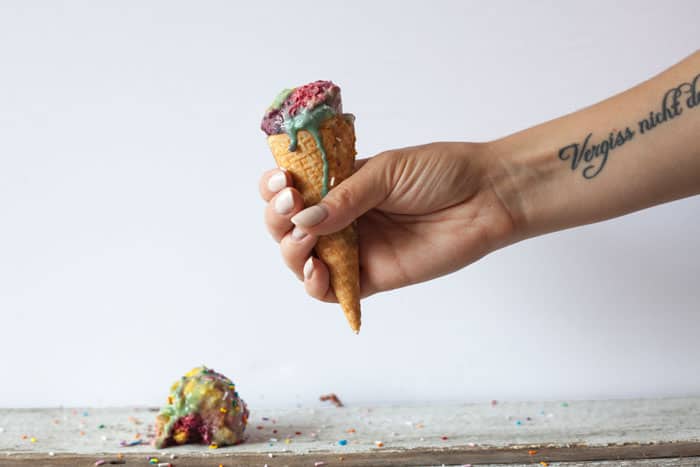
What I really loved about this recipe was photographing it. Ever since meeting the photographer for my cookbook Brilynn, I have been obsessed with photographing melting, dropped or plain ol’ destroyed ice cream. I like to call the photos with dropped ice cream cones “Broken Childhood Dreams”, or “I Just Met a Clown”. Maybe you think it’s strange- and I don’t blame you- but I think it’s fun, and well, also strange, but also fun.
- 1 cup organic white sugar
- 4 cans coconut milk, refrigerated overnight
- 1 can coconut, room temperature
- 1¾ cups orange juice concentrate, thawed
- 2-3 Tbsp raspberries (frozen or fresh)
- ½ cup raspberries (frozen or fresh)
- 2-3 capsules spirulina
- ¼ cup frozen blueberries, thawed slightly
- 1 cup frozen mango
- Open the 4 cans of refrigerated coconut milk and scoop the creamy solids into a blender .
- Add sugar and 1 can room temperature coconut milk to the blender and blend on High until well combined.
- Measure out ¼ cup of the coconut milk mixture and pour into a small bowl or cup and set aside.
- Evenly distribute the remaining coconut liquid between 4 small bowls or cups. Set aside
- Pour the cup containing the ¼ cup of coconut milk into a clean blender along with the orange juice concentrate and raspberries on tablespoon at a time.
- Blend on High until smooth, add more raspberries until the desired colour of orange is reached.
- Pour into a bowl and place in the freezer for 30 mins to 1 hour or until thickened, or scoop-able.
- In a clean blender add the coconut milk from one of the remaining 4 cups along with ½ cup raspberries.
- Blend on High until smooth.
- Pour into a bowl and place in the freezer for 30 mins to 1 hour or until thickened, or scoop-able.
- In a clean blender add the coconut milk from one of the remaining 3 cups along with 2 caps of spirulina.
- Blend on High until smooth, and add more caps of spirulina until desired green colour is reached.
- Pour into a bowl and place in the freezer for 30 mins to 1 hour or until thickened, or scoop-able.
- In a clean blender add the coconut milk from one of the remaining 2 cups along with ¼ cup blueberries.
- Blend on High until smooth, and add more blueberries as needed until desired purple colour is reached.
- Pour into a bowl and place in the freezer for 30 mins to 1 hour or until thickened, or scoop-able.
- In a clean blender add the last cup of coconut milk along with 1 cup frozen mango.
- Blend on High until smooth.
- Pour into a bowl and place in the freezer for 30 mins to 1 hour or until thickened, or scoop-able.
- Once all the colours have hardened slightly, alternating, scoop each colour into an 8x4 in loaf pan or casserole dish until you've run out of colours.
- Tap the loaf pan on the counter to remove any air bubbles.
- Cover the loaf pan with food safe wrap, or plastic wrap and place in the freezer for 3-4 hours.
- Once frozen, scoop and serve!




Leave a comment